Indulging in a decadent cheesecake no longer needs to derail your fitness goals. This high-protein cheesecake is a revolutionary dessert that marries the rich, creamy texture you crave with a powerful nutritional profile. Perfect for bodybuilders, health enthusiasts, or anyone seeking a satisfying treat, this recipe transforms a classic into a protein-packed powerhouse.
By using Greek yogurt, protein powder, and a clever crust, we create a dessert that is both delicious and aligned with a healthy lifestyle.
Why You’ll Love This Protein Cheesecake Recipe
This isn’t just another dessert recipe; it’s a smarter way to enjoy sweets. Traditional cheesecake can be laden with excess calories, sugar, and unhealthy fats. Our version flips the script, offering a dessert that actively supports your nutrition. With an impressive 30 grams of protein per serving, it helps promote muscle recovery and keeps you feeling full longer.
The texture remains luxuriously creamy, the flavor is perfectly balanced, and the process is surprisingly simple. It’s the ideal post-workout treat, a make-ahead breakfast option, or a guilt-free centerpiece for any gathering.
Key Benefits of This Healthy Dessert
Choosing this protein cheesecake offers numerous advantages. First, it’s a fantastic source of sustained energy, thanks to the combination of protein and complex carbohydrates from the cornstarch. Second, using Greek yogurt adds probiotics for gut health and a delightful tang. Third, you have full control over the sweetness, with the option to use a sugar substitute.
Finally, by preparing it yourself, you avoid the artificial additives and excessive sugars found in store-bought ‘health’ desserts. It’s a clean, wholesome, and utterly satisfying creation.
Essential Ingredients for Success
The magic of this cheesecake lies in its carefully selected ingredients. Each component plays a specific role in building flavor, texture, and nutrition.
Understanding Your Ingredients
Greek Yogurt & Cream Cheese: This duo forms the creamy, tangy base. Using room-temperature ingredients is non-negotiable; it ensures a smooth, lump-free batter. The Greek yogurt boosts the protein content significantly.
Protein Powder: The star of the show. Choose a high-quality whey or casein protein powder in a flavor you enjoy, like vanilla or plain. This is what elevates the protein count dramatically.
Cornstarch: A crucial binder that helps set the cheesecake without making it dense, replacing the need for excessive flour.
The Crust (Protein Cookies & Light Butter): We use crushed protein cookies mixed with melted light butter for a crust that adds extra protein and fiber, keeping the entire dessert macro-friendly. If you don’t have protein cookies, a mix of oat flour and a touch of sweetener works as a great alternative.
Step-by-Step Instructions for Perfect Results
Follow these detailed steps to ensure your protein cheesecake turns out flawless every time. Patience with the process is key, especially during cooling.
Preparing the Pan and Crust
Begin by preheating your oven to 320°F (160°C). Generously grease a 9-inch springform pan or a deep pie dish. This prevents sticking and allows for easy serving. For the crust, finely crush your protein cookies until you have 1 3/4 cups of crumbs. In a bowl, combine the crumbs with 5 tablespoons of melted light butter.
Mix until the texture resembles wet sand. Press this mixture firmly and evenly into the bottom of your prepared pan. A flat-bottomed glass can help achieve a compact, uniform layer.
Creating the Luxurious Filling
In a large mixing bowl, beat the room-temperature cream cheese with an electric mixer until it is completely smooth and fluffy. This step incorporates air and is essential for creaminess. Next, beat in the Greek yogurt until fully combined. Gradually add the sugar (or substitute), whisked eggs, and vanilla extract, mixing on low speed to avoid incorporating too much air.
Finally, sift in the cornstarch and protein powder. Stir gently by hand or on the lowest mixer setting until just combined and no dry clumps remain. Overmixing at this stage can lead to a cracked surface.
Baking and the Crucial Cooling Process
Pour the thick, creamy batter over your prepared crust. Gently tap the pan on the counter to release any large air bubbles. Bake on the center rack for 60 to 70 minutes. The cheesecake is done when the edges are firm and set, but the very center (about the size of a coin) still has a slight jiggle when you gently shake the pan.
Turn off the oven, crack the oven door open, and let the cheesecake cool inside for about an hour. This gradual temperature change is the best defense against cracking. Afterward, transfer it to a wire rack to cool completely to room temperature, then refrigerate for at least 4 hours, preferably overnight, to fully set.
Nutritional Breakdown & Serving Suggestions
This dessert is as nutritious as it is delicious. Below is a detailed look at what each serving provides, making it easy to fit into your daily macro tracking.
| Nutrient | Amount Per Serving |
|---|---|
| Calories | 275 kcal |
| Fat | 12 g |
| Carbohydrates | 25 g |
| Fiber | 0.1 g |
| Sugar | 17 g |
| Protein | 30 g |
| Sodium | 245 mg |
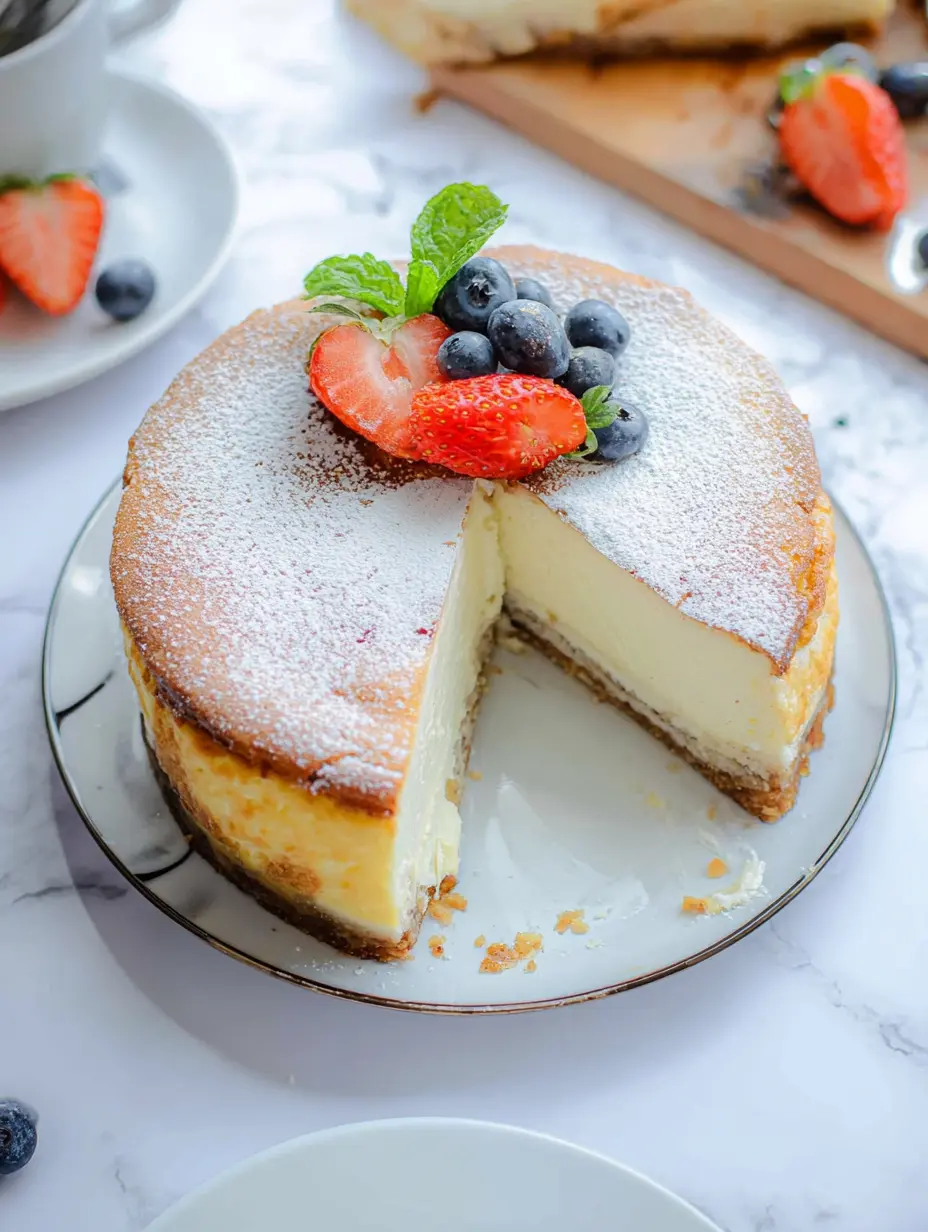
For serving, a simple dusting of powdered sugar or a dollop of whipped cream works wonderfully. For added freshness, top with a vibrant herb-infused accompaniment to balance the richness. Berries or a sugar-free fruit compote are also excellent choices. Slice with a clean, hot knife for perfect pieces.
Expert Tips and Customizations
For a Flawless Texture: Always use room-temperature ingredients. Cold cream cheese or eggs will lead to a lumpy batter. If you see lumps, a quick pass with an immersion blender can save the day.
Flavor Variations: Feel free to experiment! Add lemon zest for a citrus twist, swirl in some sugar-free chocolate syrup, or fold in fresh blueberries. The base recipe is incredibly versatile.
Dietary Adjustments: To make it lower in carbs, use a sugar substitute like erythritol and opt for a nut-based crust. For a different savory-sweet protein boost, consider the inspiration from a seed and nut mix in your crust. You can also explore plant-based protein powders and dairy-free cream cheese for a vegan version, much like the principles used in a hearty vegan side dish.
Storage: Store covered in the refrigerator for up to 5 days. You can also freeze individual slices for up to 2 months. Thaw overnight in the fridge before enjoying.
Conclusion: Redefining Indulgence
This high-protein cheesecake proves that you don’t have to sacrifice flavor for fitness. It’s a testament to how intelligent ingredient swaps and mindful cooking can produce a dessert that is truly nourishing. Whether you’re meal-prepping for the week, celebrating a special occasion, or simply satisfying a sweet tooth, this recipe delivers on every front.
Creamy, rich, and packed with muscle-friendly protein, it’s the healthy treat that will become a staple in your kitchen. Give it a try and taste the perfect balance of health and indulgence.
Recipe
Print
Protein Cheesecake
- Total Time: 1 hr 1 min
- Yield: 12 servings 1x
Description
A rich and creamy baked cheesecake packed with 30g of protein per slice. The perfect healthy dessert for fitness goals.
Ingredients
3 1/4 cups Greek yogurt (room temperature)
14 ounces cream cheese (room temperature)
6 large eggs (whisked, room temperature)
3/4 cup sugar (or sugar substitute)
1 cup protein powder
2/3 cup cornstarch
2 teaspoons vanilla extract
1/4 teaspoon salt
12 protein cookies (crushed)
5 tablespoons light butter (melted)
Instructions
- Preheat oven to 160C/320F. Grease a 9-inch pie pan or springform cake pan.
- For crust: Crush cookies to make 1 3/4 cups crumbs. Mix with melted butter. Press firmly into pan bottom.
- In a bowl, beat cream cheese until smooth. Mix in yogurt, then sugar, eggs, and vanilla.
- Gradually stir in cornstarch and protein powder until no clumps remain.
- Pour filling over crust. Bake 60-70 mins until edges are set but center jiggles slightly.
- Let cool in oven with door cracked for 1 hour. Then cool completely on rack and refrigerate for 4+ hours.
Notes
- Ensure all ingredients are at room temperature for a smooth batter.
- Cooling slowly in the oven prevents cracking.
- For best texture and flavor, refrigerate overnight before serving.
- Prep Time: 1 min
- Cook Time: 60-70 mins
- Category: Main Course
- Method: Baked
- Cuisine: American
Nutrition
- Calories: 275 kcal
- Sugar: 17 g
- Sodium: 245 mg
- Fat: 12 g
- Carbohydrates: 25 g
- Fiber: 0.1 g
- Protein: 30 g