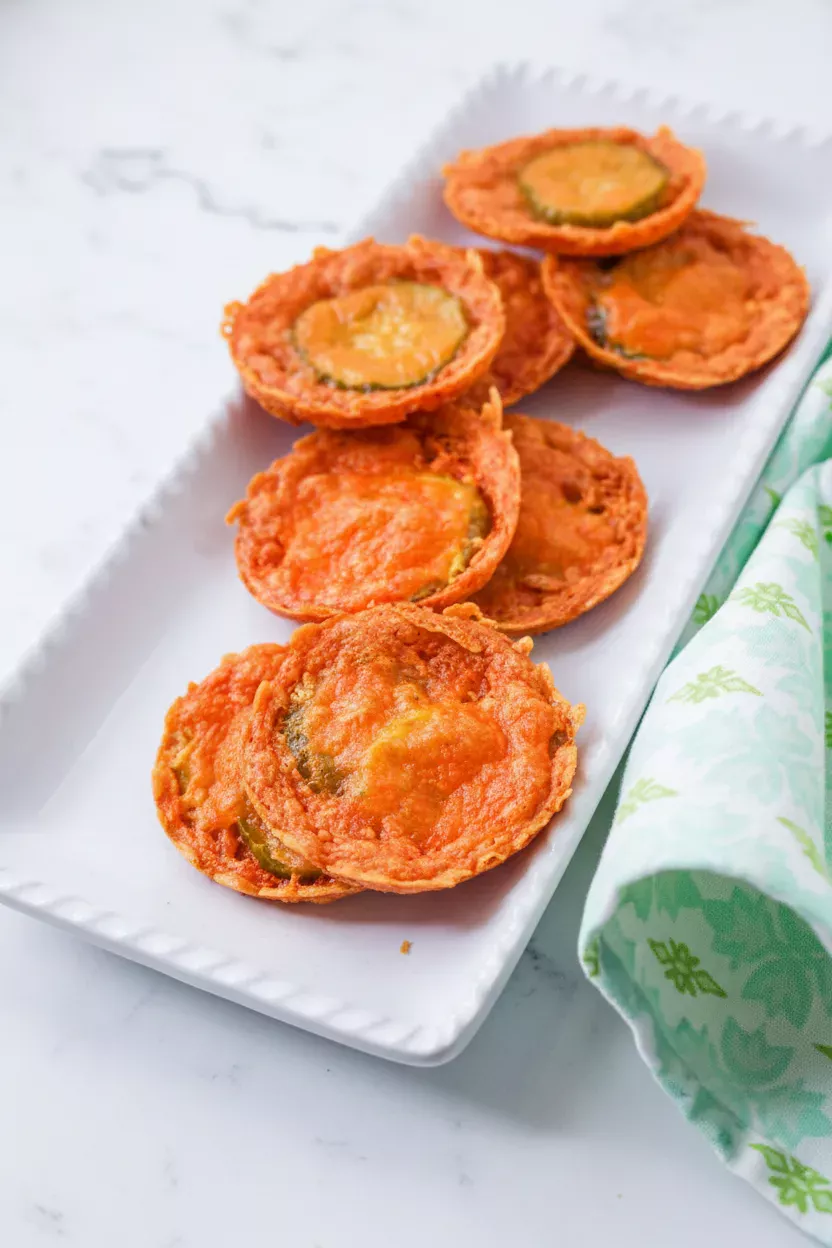
Do you love the perfect crunch of a pickle and the gooey comfort of melted cheese? Then get ready for your new favorite snack. These Crispy Pickle Cheese Bites are a simple, irresistible treat you can whip up in less than 30 minutes. They combine sharp cheddar cheese with tangy pickles for a flavor explosion in every bite.
In fact, these little morsels bake into perfectly crispy cups that are impossible to eat just one of. Best of all, you only need three main ingredients and a muffin tin. Let us dive into this easy recipe that will become a star at any game day gathering, party appetizer spread, or even a quick weeknight treat.
Why You’ll Love This Recipe
First, the texture is absolutely magical. The cheese bakes into a crispy, lacy shell that holds a juicy, tangy pickle slice right in the center.
It is a delightful contrast of crunchy and tender. Second, the recipe is incredibly simple and foolproof. You do not need any special skills or fancy equipment. If you can shred cheese and slice pickles, you can make these bites. Third, they are endlessly customizable.
You can play with different cheese blends, pickle varieties, and seasonings to create your perfect flavor combo. Finally, they are a crowd-pleaser for all ages. Kids adore the fun shape and cheesy taste, while adults appreciate the sophisticated salty-tangy flavor profile. These bites are a guaranteed hit.
Recipe
Print
Crispy Pickle Cheese Bites
- Total Time: 25 min
- Yield: 3 servings 1x
Description
Irresistible crispy cheese cups with a tangy pickle center, baked to perfection in under 30 minutes. The perfect easy snack or appetizer.
Ingredients
- 1 ¾ cups shredded sharp cheddar cheese (about 175 g)
- 1 cup sliced dill pickles, drained and patted very dry (about 150 g)
- Garlic powder, black pepper, and salt, to taste (optional)
Instructions
- Preheat your oven to 400 degrees Fahrenheit (200°C).
- Spoon 1 tablespoon of shredded cheese into the bottom of each well of a non-stick muffin tin.
- Place two to three dried pickle slices over the first cheese layer in each cup.
- Top the pickles with another tablespoon of shredded cheese.
- Bake for 18 to 20 minutes, or until the cheese is golden brown and crispy at the edges.
- Let the bites cool in the tin for 3-5 minutes, then remove and place on paper towels to absorb any excess oil.
- Serve warm with your favorite dipping sauce.
Notes
- For the crispiest results, always shred your own cheese from a block and pat the pickles extremely dry.
- Let the bites cool slightly in the tin before removing to help them hold their shape.
- Reheat leftovers in a toaster oven or air fryer to restore crispiness; the microwave will make them soft.
- Feel free to experiment with different cheeses like pepper jack or seasonings like smoked paprika.
- Prep Time: 5 min
- Cook Time: 20 min
- Category: Main Course
- Method: Baked
- Cuisine: American
Nutrition
- Calories: 275 kcal
- Sugar: 1 g
- Sodium: 816 mg
- Fat: 23 g
- Carbohydrates: 3 g
- Fiber: 0.5 g
- Protein: 16 g
Ingredients and Substitutions
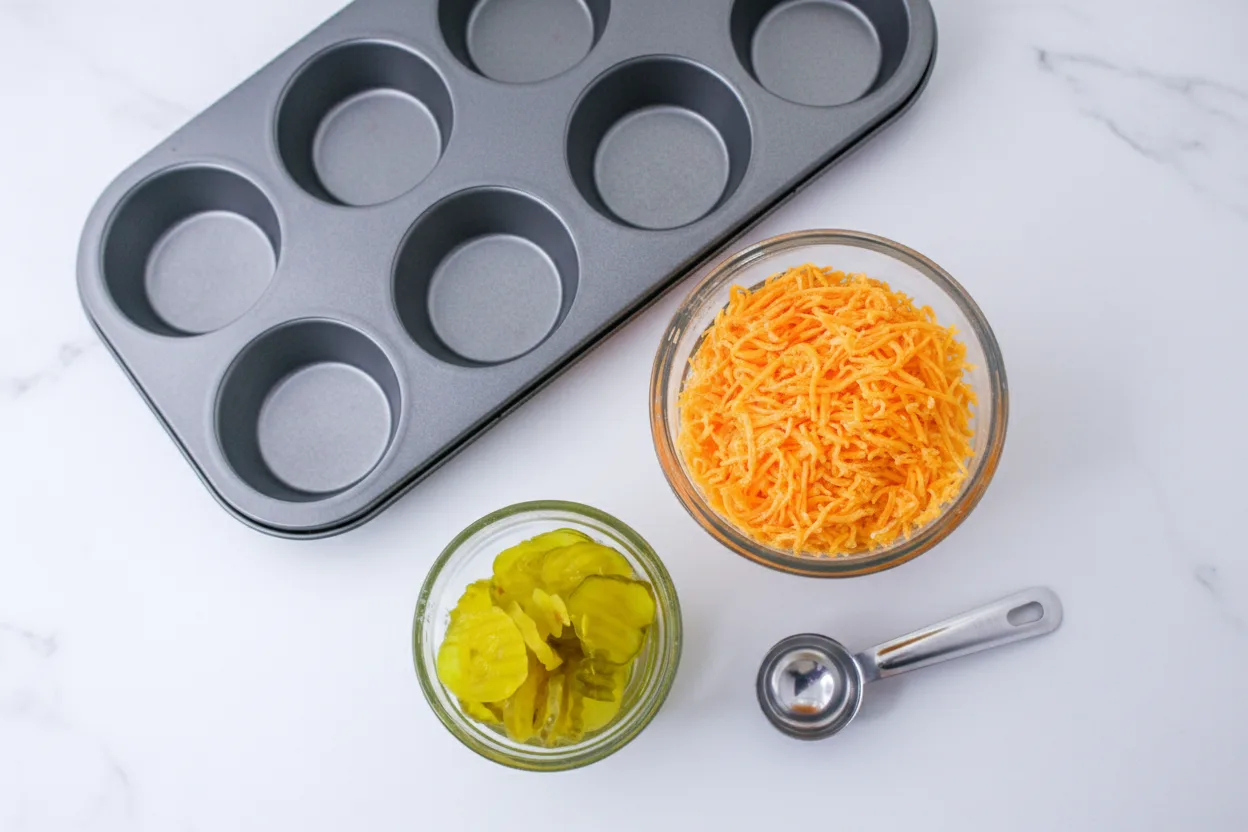
Gathering your ingredients is the first easy step. The beauty of this recipe lies in its simplicity and the quality of its few components.
Base Components
- Shredded Sharp Cheddar Cheese: This is the star. Sharp cheddar melts beautifully and offers a rich, tangy flavor that stands up to the pickle. For the best texture, shred a block of cheese yourself. Pre-shredded cheese often contains anti-caking agents that can prevent it from melting into a perfectly crispy lace.
- Sliced Pickles: Use your favorite dill pickles. Hamburger slices or spears that you cut into rounds work perfectly. Ensure you drain them well and pat them very dry with paper towels. Excess moisture is the enemy of crispiness here.
Seasonings
- Garlic Powder, Black Pepper, Salt: These are optional but highly recommended. A sprinkle of garlic powder and black pepper on the cheese layers adds a wonderful depth of flavor. Since both cheese and pickles are salty, taste a bite before adding extra salt after baking.
Simple Swaps
- Cheese: Feel free to experiment with other melting cheeses. A Monterey Jack and cheddar blend is fantastic. Pepper jack adds a spicy kick. For a different twist, try gouda or even a bit of parmesan mixed with the cheddar.
- Pickles: Bread and butter pickles will give you a sweeter bite. Spicy pickles or pepperoncini slices can add heat. You can even use pickle chips or finely chopped pickles if you prefer.
- Add-ins: Consider adding a tiny pinch of smoked paprika, onion powder, or dried dill to the cheese for extra flavor.
How to Make Crispy Pickle Cheese Bites
Making these crunchy delights is a straightforward process. Follow these simple steps for perfect results every single time.
Step 1: Preheat and Prepare
First, preheat your oven to 400 degrees Fahrenheit. Then, grab a standard non-stick muffin tin. You do not need to grease it. The cheese releases its own fat as it bakes, which helps the bites pop out easily. However, for extra insurance, you can use a silicone muffin pan or lightly spray the tin with cooking spray.
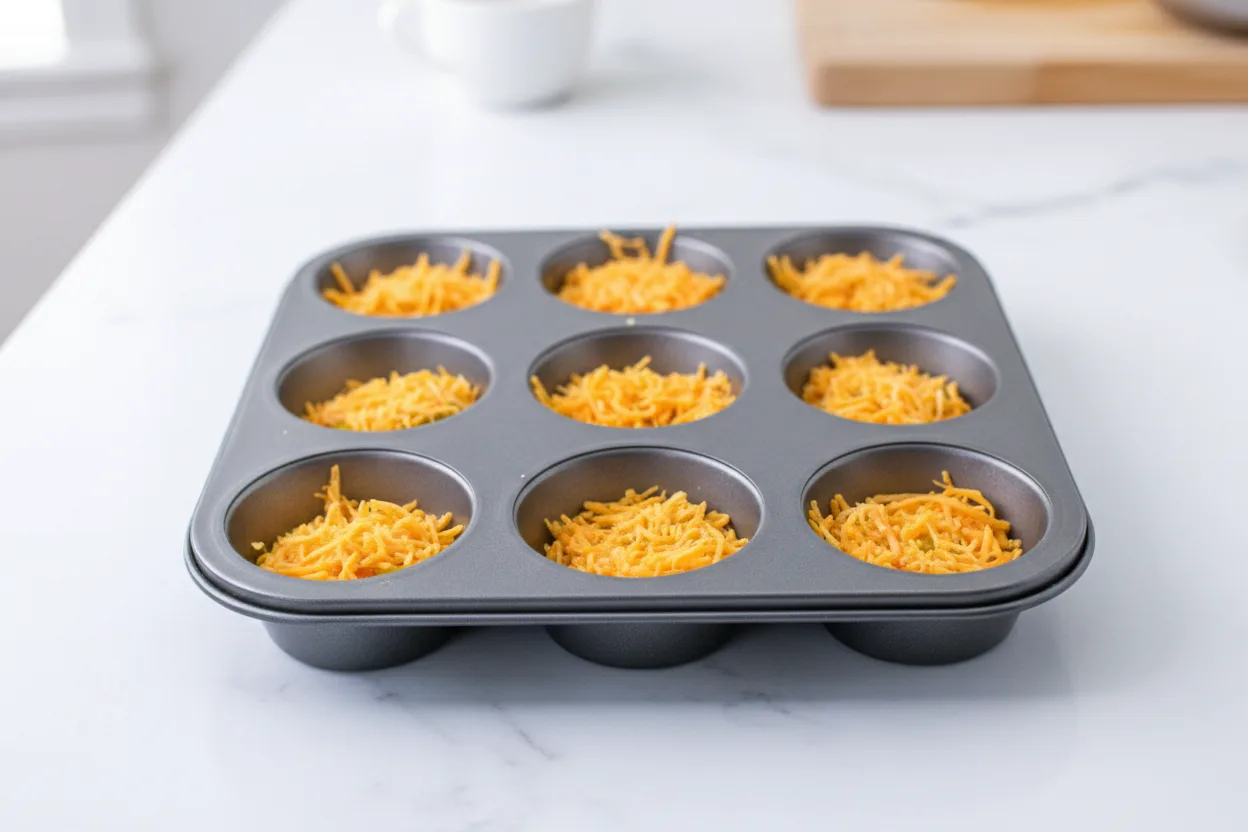
Step 2: Layer the Cheese
Take a tablespoon of your shredded cheddar cheese and spoon it into the bottom of one muffin cup. Gently press it down to form a thin, even layer that covers the bottom. This will become the base of your cheese cup. Repeat this process for all 12 cups if you are making a full batch. Next, you can add a light sprinkle of your chosen seasonings, like garlic powder or black pepper, over this first cheese layer.
Step 3: Add the Pickle
Now, take your well-dried pickle slices. Place two to three slices, depending on their size, over the first layer of cheese in each cup. Try to keep them in a single layer and centered. The goal is to have cheese encasing the pickle. Then, top the pickles with another tablespoon of shredded cheese. This top layer will melt and fuse with the bottom layer, sealing the pickle inside and creating that iconic cup shape.
Step 4: Bake to Perfection
Carefully place the muffin tin in your preheated oven. Bake for 18 to 20 minutes. You will know they are done when the edges are deeply golden brown and the cheese looks lacy and crispy. The centers may still look a bit soft, but they will firm up as they cool. Avoid over-baking, as the cheese can become bitter.
Step 5: Cool and Serve
Once baked, remove the tin from the oven. Let the bites cool in the tin for about 3 to 5 minutes. This allows them to set and makes them easier to remove. Then, use a small spoon or butter knife to gently lift each bite out of the cup. Place them on a plate lined with paper towels. The paper towels will absorb any excess oil, ensuring maximum crispiness. Serve them warm and enjoy the incredible crunch.
Pro Tips for Success
Follow these expert tips to guarantee your Crispy Pickle Cheese Bites turn out perfectly every time.
- Dry Those Pickles Thoroughly: This is the most critical step for crispiness. After draining your pickles, lay them out on a stack of paper towels. Pat the tops dry, then flip them over and pat again. Any leftover moisture will steam the cheese instead of letting it crisp up.
- Shred Your Own Cheese: As mentioned, pre-shredded bagged cheese contains cellulose to prevent clumping. This additive can hinder the melting and crisping process. Ten minutes of extra prep with a box grater makes a world of difference.
- Do Not Overcrowd: Stick to about one tablespoon of cheese per layer. Too much cheese will make a thick, chewy center instead of a delicate, crispy cup.
- Watch Closely Near the End: Oven temperatures can vary. Start checking your bites at the 16-minute mark. You want a deep golden brown color, not blackened edges.
- Let Them Cool Slightly: Patience is key. If you try to remove the bites immediately from the tin, they will fall apart. A brief cooling period lets them solidify.
Flavor Variations
Once you master the basic recipe, the fun begins. You can easily adapt these bites to suit any taste or occasion.
- Spicy Jalapeño Popper: Add a thin slice of fresh jalapeño on top of the pickle before adding the final cheese layer. Use pepper jack cheese for an extra kick.
- Everything Bagel: Mix a teaspoon of everything bagel seasoning into the shredded cheese before baking. The sesame seeds, garlic, and onion add incredible flavor.
- Bacon and Cheddar: For a heartier bite, sprinkle a few pieces of cooked, crumbled meatless bacon alternative into the cheese layers. This creates a smoky, savory flavor.
- Ranch Flavor: Stir a half teaspoon of dry ranch seasoning mix into the cheese. This pairs perfectly with a cool ranch dipping sauce.
- Pizza Bites: Add a tiny dollop of pizza sauce and a mini pepperoni slice (or a vegetarian alternative) with the pickle, then use a mozzarella and cheddar cheese blend.
Serving Suggestions
These bites are fantastic on their own, but pairing them takes the experience to the next level. Serve them warm as an appetizer with a variety of dipping sauces. Classic ranch dressing is always a winner.
A cool, creamy dill dip or a spicy sriracha mayo also makes a great companion. For a party platter, arrange them alongside other finger foods like vegetable sticks, kid-friendly sliders, and fresh fruit.
They also make a fun side dish for casual dinners. Pair them with a simple green salad or a comforting bowl of soup for a satisfying meal. In fact, they go wonderfully with a light spring vegetable soup for a balanced lunch.
Storage and Freezing Instructions
These bites are best enjoyed fresh and warm, but you can store leftovers if you have any.
- Refrigeration: Store any cooled leftovers in an airtight container in the refrigerator for up to 2 days. Reheat them in a toaster oven or air fryer at 375°F for 3-5 minutes to restore crispiness. The microwave will make them soft and chewy.
- Freezing: You can freeze unbaked or baked bites. For unbaked, assemble the bites in the muffin tin and freeze solid. Then transfer the frozen bites to a freezer bag. Bake from frozen, adding 2-3 extra minutes to the baking time. For baked bites, let them cool completely, freeze on a sheet pan, then bag them. Reheat from frozen in the oven or air fryer.
Nutrition Facts per Serving
| Calories | Fat | Carbs | Protein | Fiber | Sugar | Sodium |
|---|---|---|---|---|---|---|
| 275 kcal | 23 g | 3 g | 16 g | 0.5 g | 1 g | 816 mg |
Please note: Nutrition information is approximate and based on specific ingredients used. Values can vary with different brands or substitutions.
FAQs About Crispy Pickle Cheese Bites
Here are answers to some common questions to help you master this recipe.
Can I use a different type of cheese?
Absolutely. While sharp cheddar gives the best flavor and crispness, many other cheeses work well. Good melting cheeses like Monterey Jack, Colby, gouda, or mozzarella are fine choices. For the crispiest result, avoid very oily or soft cheeses like fresh mozzarella.
Why did my cheese bites turn out soggy?
Sogginess usually comes from one of two issues. First, the pickles were not dried enough. Moisture is the main culprit. Second, the bites were not baked long enough. The cheese needs enough time to release its oil and become crisp. Ensure your oven is fully preheated and bake until the edges are a deep golden brown.
Can I make these in an air fryer?
Yes, you can. Preheat your air fryer to 370°F. Place the assembled bites in a single layer in the air fryer basket, making sure they are not touching. You may need to work in batches. Cook for 8 to 10 minutes, or until golden and crispy. Watch them closely, as air fryers cook quickly.
What can I serve these with for a full meal?
These bites are versatile. They make a great protein-packed snack on their own. For a fuller meal, serve them alongside a hearty salad or a classic comfort food like creamy chicken and rice. The combination of crispy, salty bites with a creamy, warm main dish is incredibly satisfying.
Can I make these bites ahead of time?
You can prepare the components ahead. Shred the cheese and store it in a bag in the fridge. Drain and dry the pickles and keep them on a paper towel in a container. Assemble the bites just before baking for the best texture. You can also assemble them up to a few hours ahead and keep the tin in the refrigerator until you are ready to bake.
Final Thoughts
In conclusion, Crispy Pickle Cheese Bites are a true testament to the magic of simple ingredients. They deliver an unbelievable crunch and a burst of tangy flavor that is downright addictive. This recipe is perfect for busy weeknights, last-minute guests, or when you just need a delicious treat.
With minimal prep, easy steps, and endless options for customization, it is a recipe you will return to again and again. So preheat your oven, grab your cheese and pickles, and get ready to make a snack that will disappear in minutes. Your taste buds will thank you for this perfect combination of crispy, cheesy, and tangy goodness.